Customize Your Chat Widget
Customize your chat widget’s design, branding, and placement before publishing it on your website.
Overview
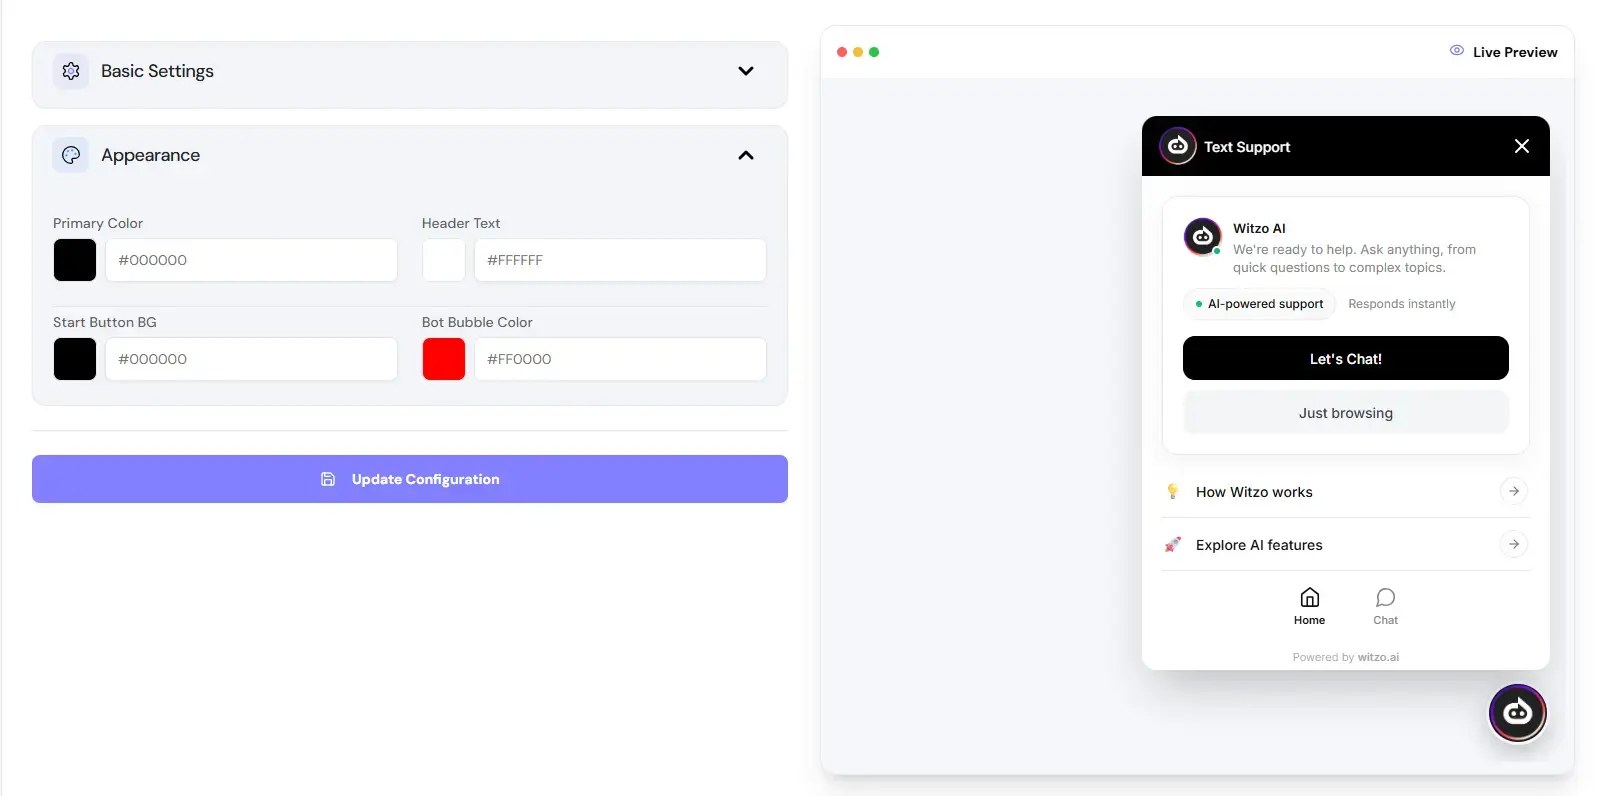
You control how your chat widget looks and feels from the Widget Customization section in your dashboard. Changes apply to the selected widget and reflect instantly in the preview panel.
Change Widget Color
| Step | Action |
|---|---|
| 1 | Go to Dashboard -> Widget Customization. |
| 2 | Locate the Primary Color or theme color setting. |
| 3 | Select your preferred color. |
| 4 | Click Save Changes. |
The preview updates immediately after saving.
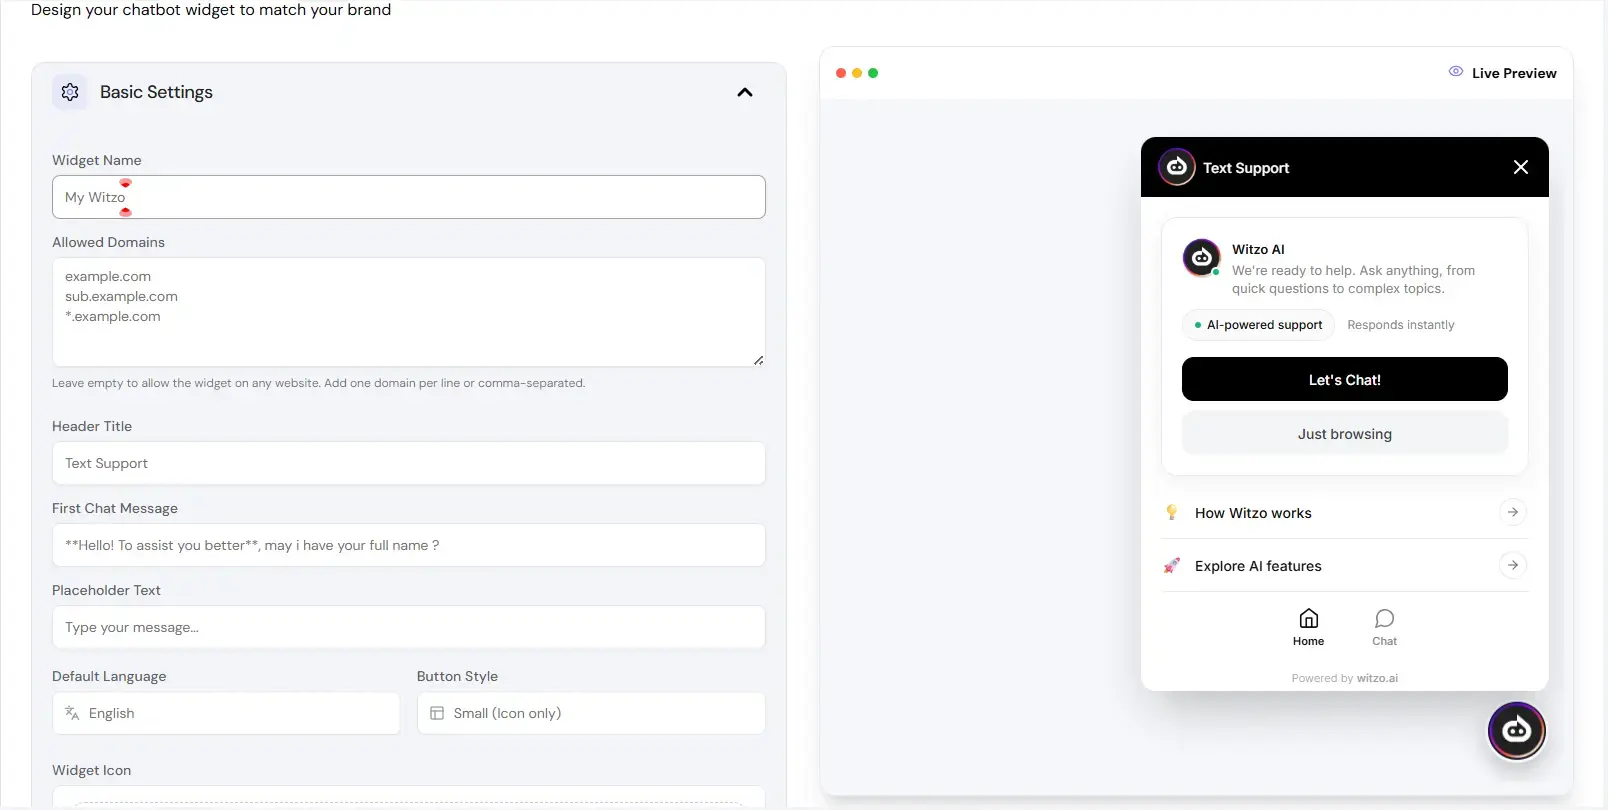
Change Assistant Name
| Step | Action |
|---|---|
| 1 | Go to Dashboard -> Widget Customization. |
| 2 | Find the Assistant Name or title field. |
| 3 | Enter your preferred assistant name. |
| 4 | Click Save Changes. |
The updated name appears in the widget header.
Upload Logo via URL
The widget currently supports logo insertion using an image URL.
| Step | Action |
|---|---|
| 1 | Go to Dashboard -> Widget Customization. |
| 2 | Locate the Logo URL field. |
| 3 | Paste your publicly accessible image URL. |
| 4 | Click Save Changes. |
The logo will display in the widget header.
Important
- The image must be publicly accessible and served over HTTPS.
- Binary file uploads are not available in this step. Only image URLs are supported.
Edit Welcome Message
| Step | Action |
|---|---|
| 1 | Go to Dashboard -> Widget Customization. |
| 2 | Locate the Welcome Message field. |
| 3 | Edit the greeting text. |
| 4 | Click Save Changes. |
The preview reflects your new message instantly.
Keep the message short and clear. Avoid long paragraphs.
Change Widget Position
| Step | Action |
|---|---|
| 1 | Go to Dashboard -> Widget Customization. |
| 2 | Locate the Position setting. |
| 3 | Choose Left or Right alignment. |
| 4 | Click Save Changes. |
Position changes apply globally wherever the widget script is embedded.